
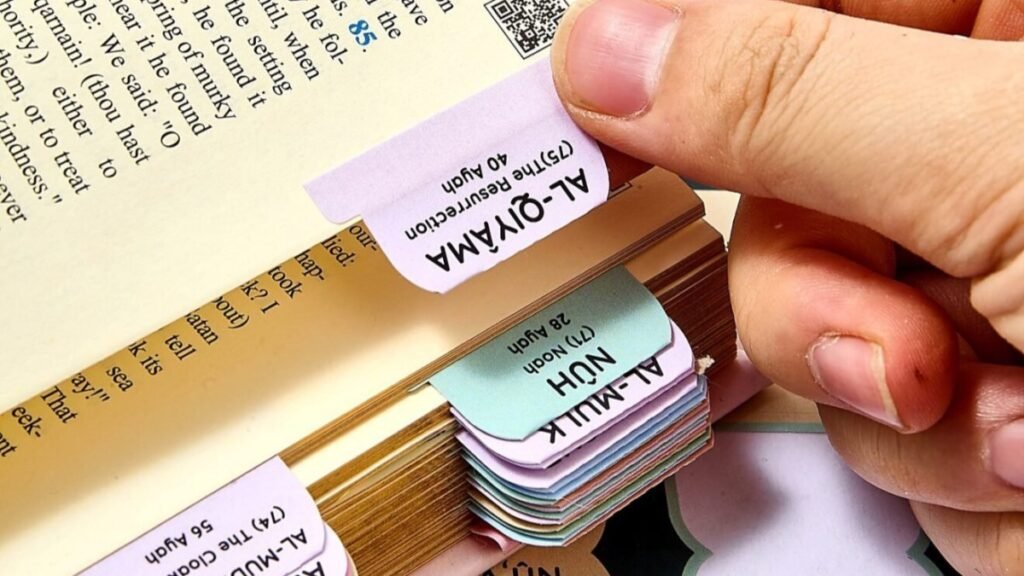
How to Put Tabs in Your Quran: A Step-by-Step Guide
A calm, respectful method to index all 114 Surahs neatly – even if it’s your first time.
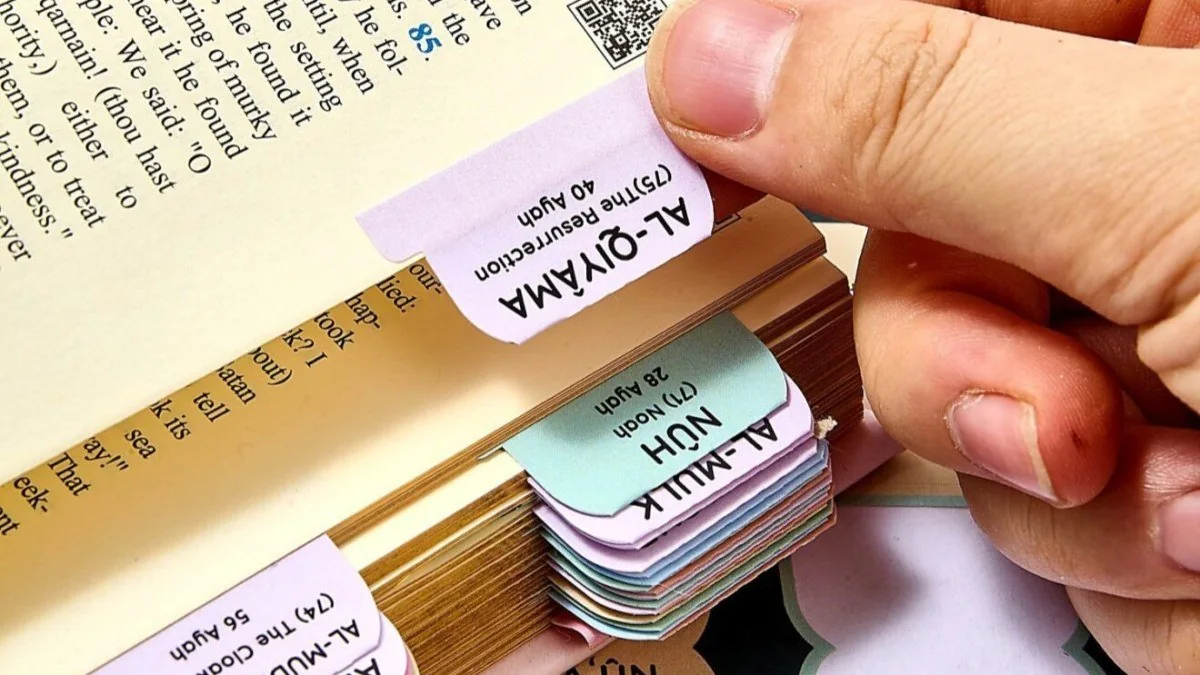
Searching for a Surah page by page can break your focus right when you want to read. Quran tabs fix that in an elegant way: one glance at the edge of your Mushaf, and you open exactly where you need to be – in class, during your Hifz review, or in the quiet of Fajr. Here is our simple guide on how to put tabs in Quran.
Placing 114 tabs evenly takes a little care. Here is the method our customers use for a clean, professional result.
You will need
- Your Mushaf and its table of contents
- Your tab sheets and the placement guide
- A clean, flat table with good light
- About 45 minutes – and a little patience
Before you begin
Out of respect for the words of Allah, many people make wudu before handling the Mushaf for this task. Clear your table, wash and dry your hands, and keep the table of contents open beside you so you know the page of each Surah.
Step 1 – Plan your columns
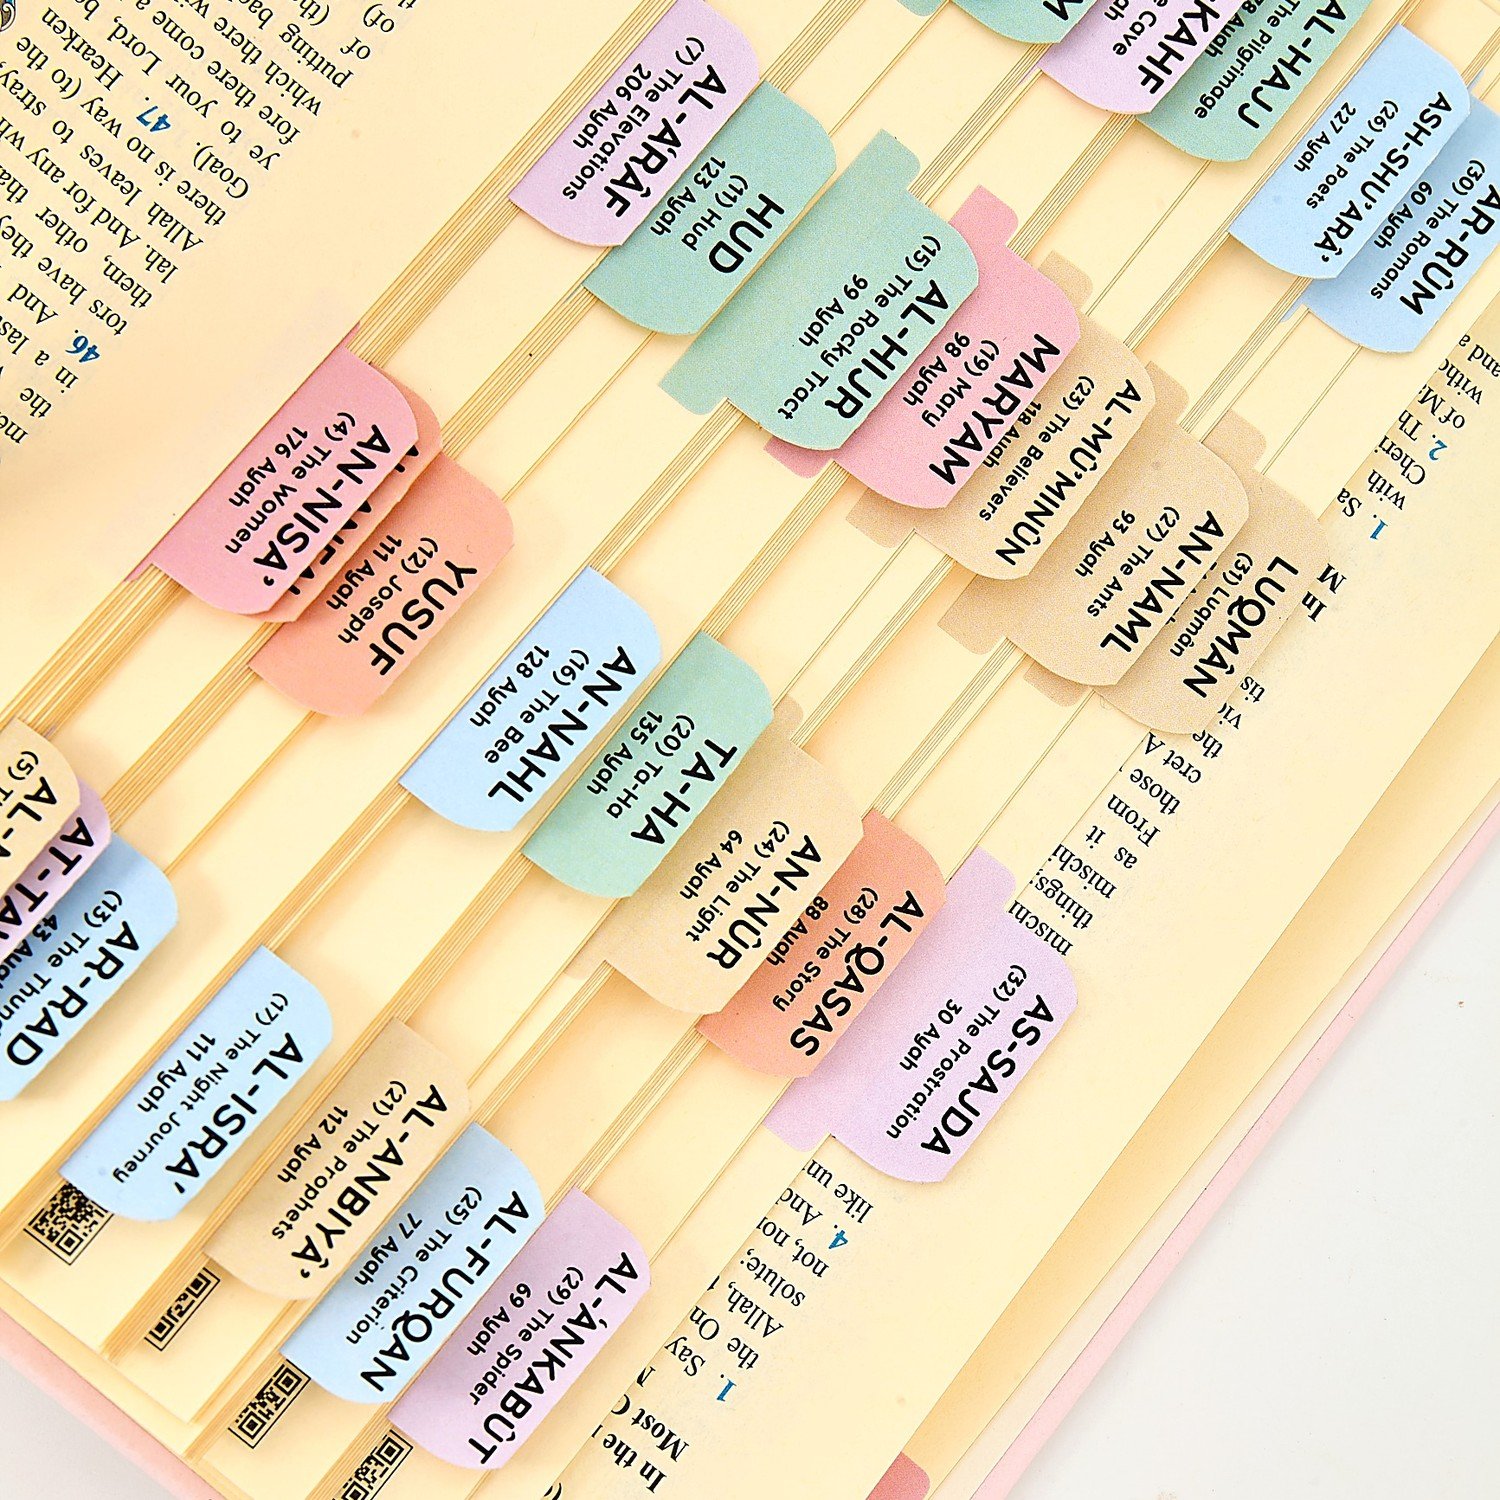
Tabs are placed in diagonal columns down the outer edge of the pages. Each new Surah goes one position lower; when you reach the bottom, you start a new column at the top. A large Mushaf fits more tabs per column than a compact one – decide this before the first tab.
Good to know
If your placement guide is shorter than your page, cut a strip of cardstock to the full height of the page and mark evenly spaced lines on it. It becomes your custom guide.
Step 2 – Start with Al-Fatiha
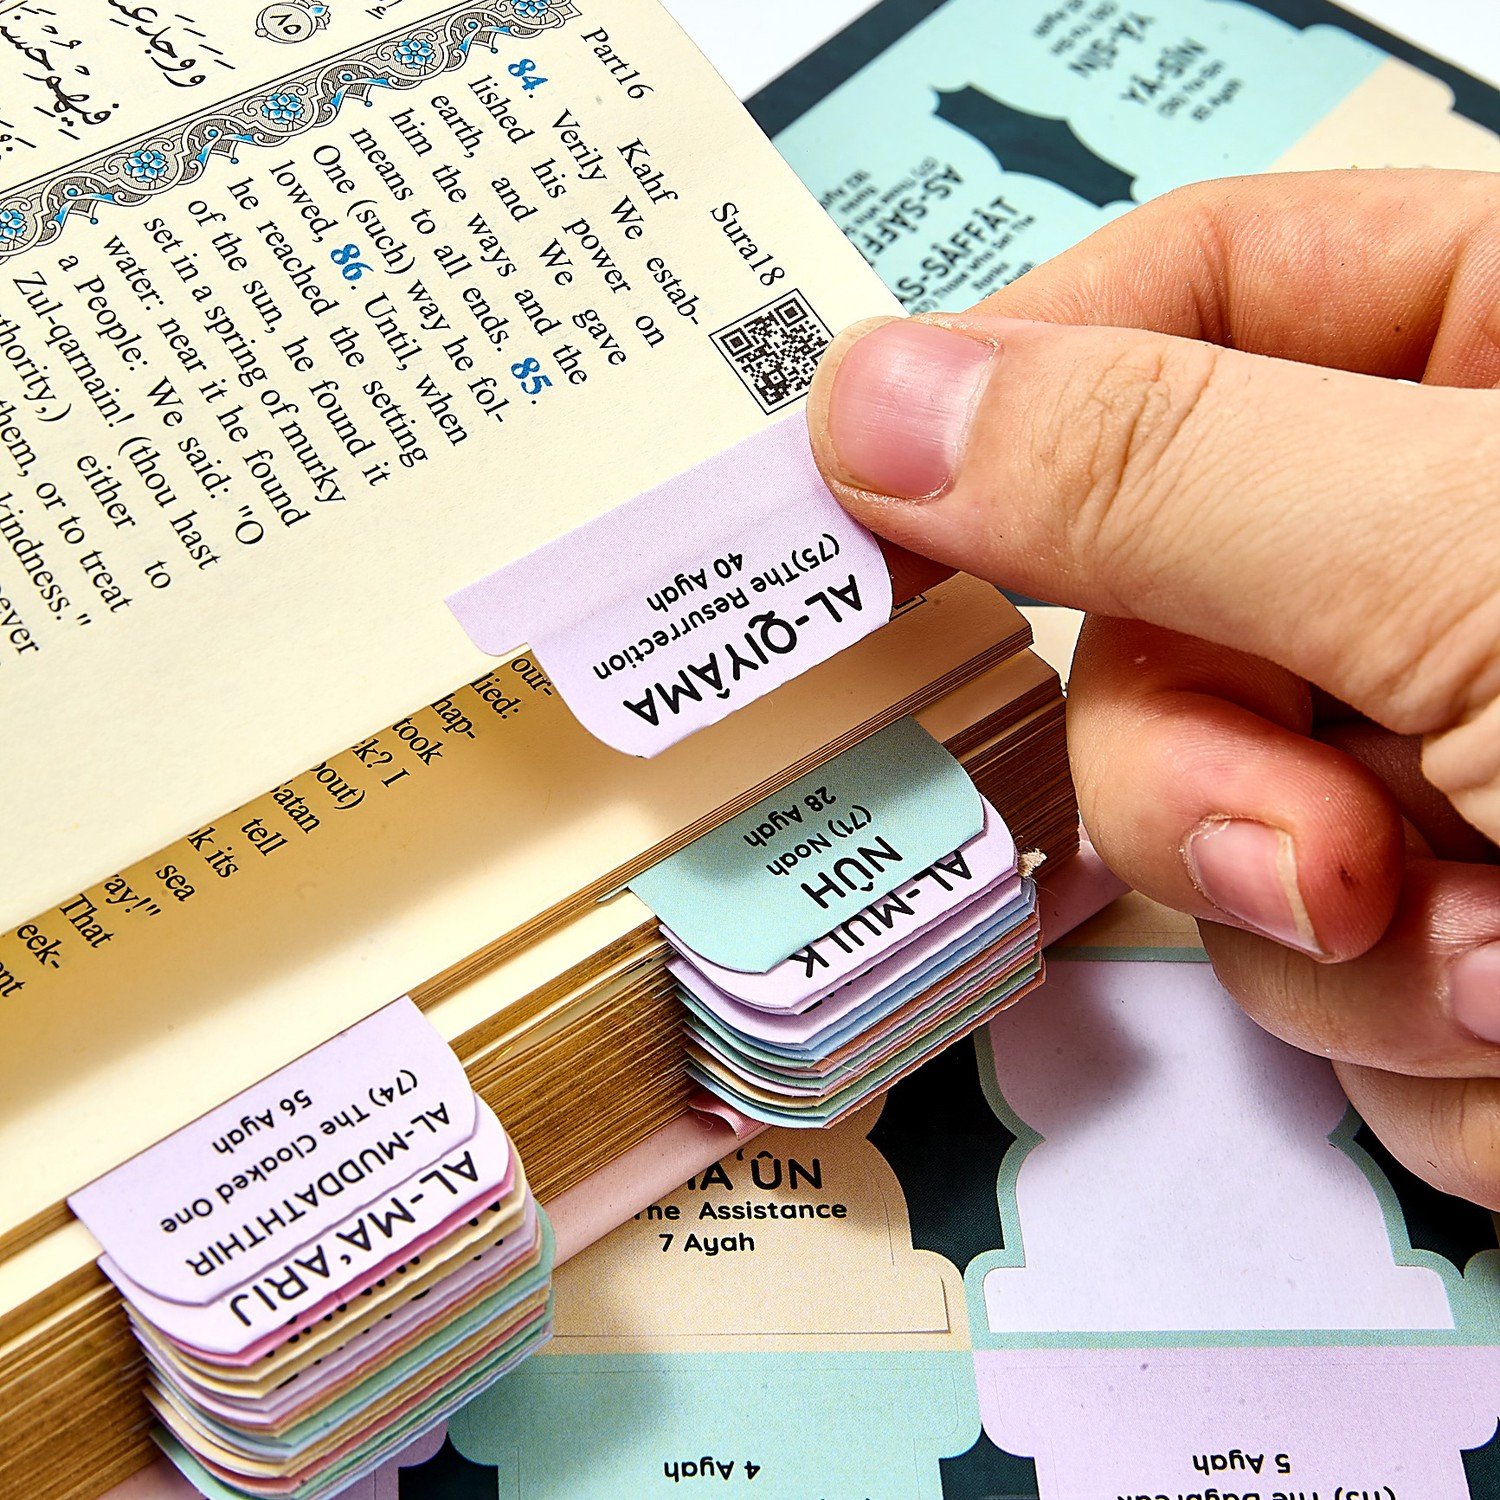
Open to the first page of Surah Al-Fatiha. Align the guide with the top of the page, peel the first tab and press it so that about half extends beyond the page edge.
Step 3 – Continue in order
Move Surah by Surah, always in order, placing each tab one position lower than the last. Working in strict order is the best way to avoid gaps and overlaps. Every ten tabs, close the Mushaf and look at the edge from the side: you should see clean, even diagonals.
Step 4 – Press gently and let it set
Press each tab firmly along the page, but gently. Quality tabs are designed to stay in place once applied, so take your time on each one rather than trying to reposition it later.
Step 5 – Make the blank tabs yours
Blank tabs are where your Mushaf becomes personal. Mark the start of each Juz you’ll read during Ramadan, the page of a beloved dua, your current Hifz lesson, or the Surah you recite every Friday.
“And We have certainly made the Quran easy for remembrance – so is there anyone who will remember?”
Surah Al-Qamar 54:17
Why transliteration matters
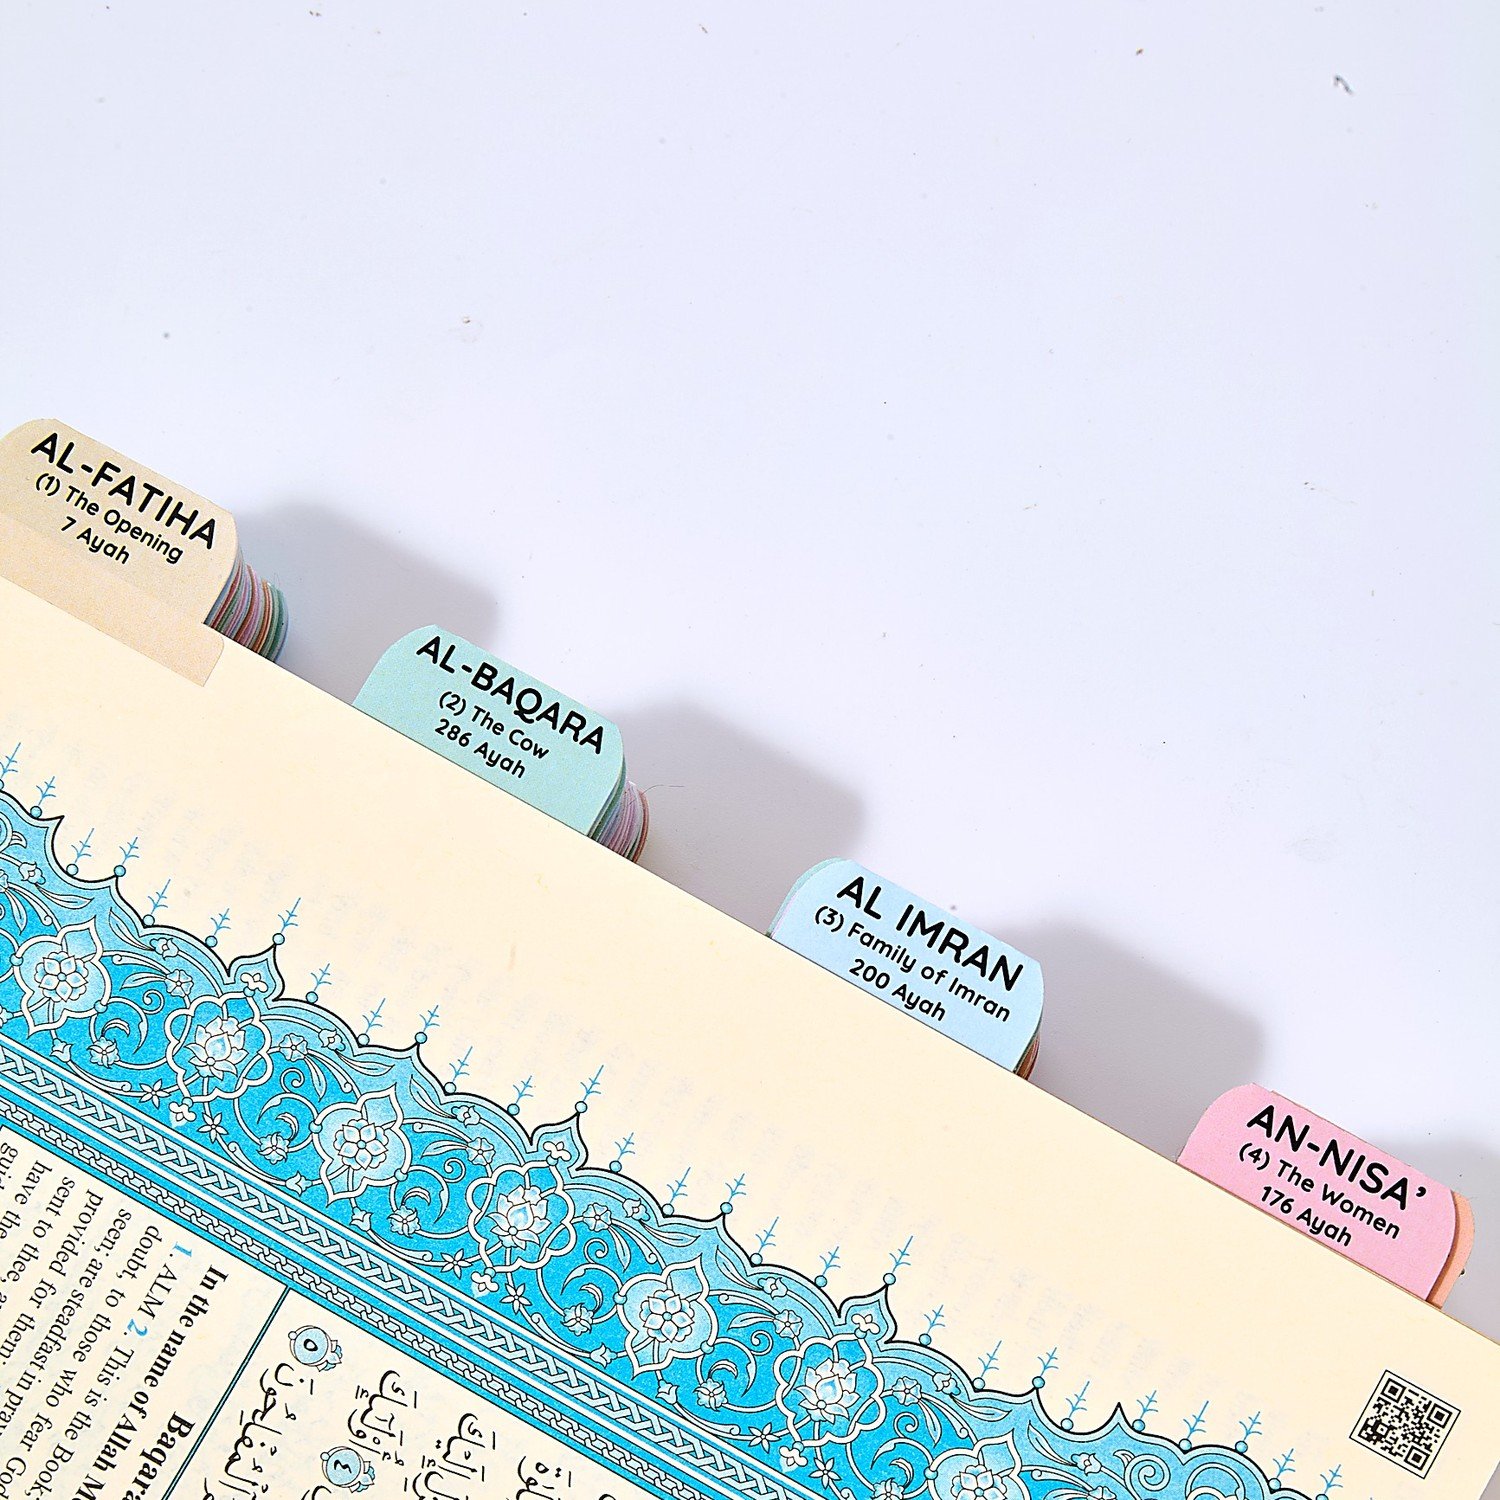
For new Muslims, children and anyone still learning Arabic, a tab that shows Al-Baqara – The Cow – 286 Ayah is more than a bookmark. It teaches the names and meanings of the Surahs every time you open your Mushaf.
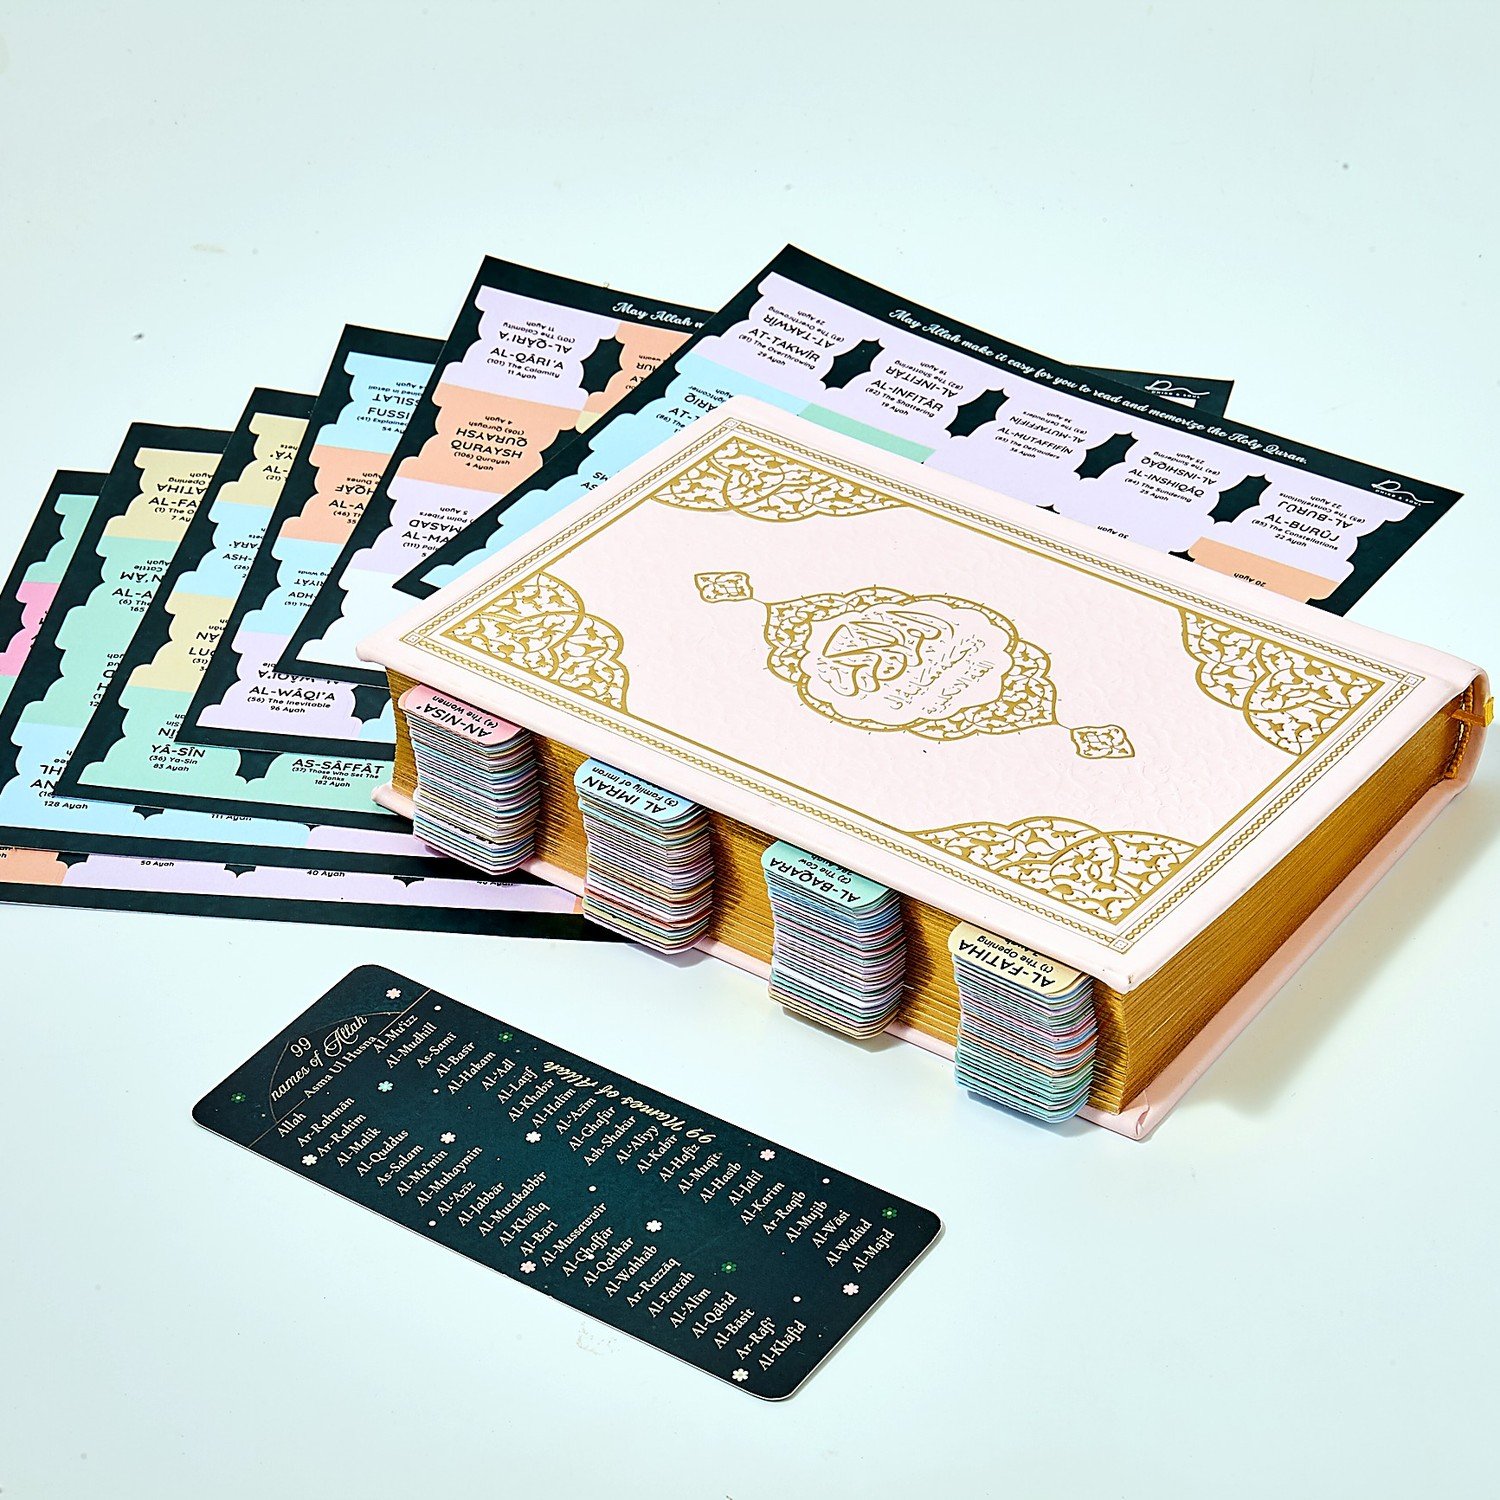
Everything in one set
Quran Tabs – 114 Surah Index
All 114 Surahs with transliteration, English names and ayah count, 6 blank tabs, a placement guide and a 99 Names of Allah bookmark.
Shop Quran TabsFrequently asked questions
Do Quran tabs damage the pages?
Good tabs use an adhesive that holds firmly while staying gentle on thin pages. Place them carefully the first time – they are made to stay.
Will tabs fit a small Mushaf?
Yes. On a compact Mushaf, simply use more columns with fewer tabs in each.
How long does it take?
Most people need 30 to 60 minutes for all 114 tabs. It’s a lovely activity to do as a family, reading out each Surah name together.

We create authentic, beautiful Islamic tools for Muslim families.